2021-12-17
5 Ways to Prevent Lower Control Arm Ball Joints from Breaking

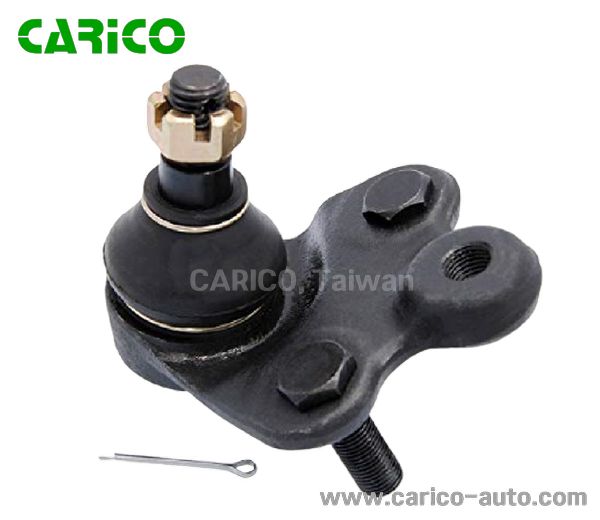
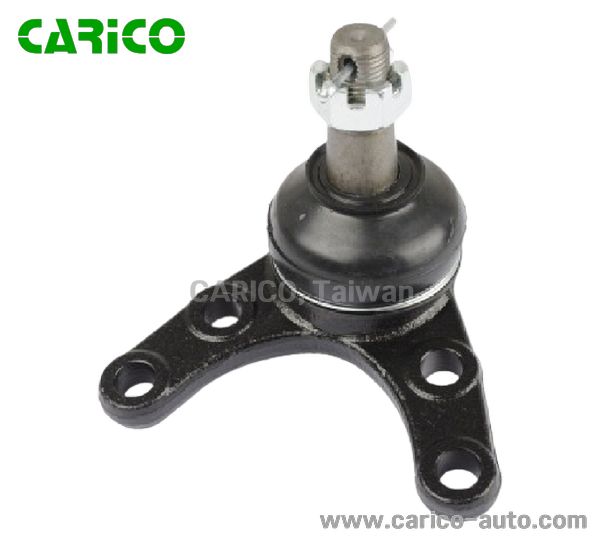
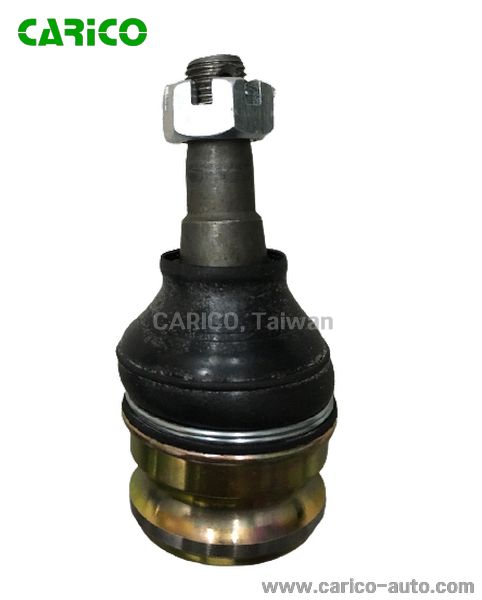
Lower control arm ball joints are very common in modern vehicles. However, they are often overlooked when it comes to preventative maintenance.
If neglected, lower control arm ball joints will break, putting you and your passengers in danger, not to mention the costs associated with repairs.
Use these 5 easy ways to maintain your vehicle's lower control arm ball joints so you can feel safe on the road and get peace of mind.

What Causes Ball Joint Failure?
Lower control arm ball joint failure is a serious problem that can lead to a multitude of other problems.
Lower control arm ball joint failure is caused by corrosion, which can happen from moisture, dust, dirt and debris. In addition, the deterioration of the rubber boot seal and grease may cause lower control arm ball joint failure.
Ball Joints are used in vehicles to allow the movement of suspension components. In vehicles, they are used for making up for differences in ground height and also to allow the wheels to turn independently. A ball joint failure can be caused by several factors and situations and can lead to serious damage and safety issues if not corrected.
The causes of ball joint failure include:
- the vehicle is overloaded with too much weight
- Driving on rough terrain
- Substandard parts
Inspect the ball joint for signs of wear and tear
Since ball joints are one of the most important parts of the car's suspension system, it is important to inspect them for signs of wear and tear. This can be done by checking how easily they move, if there are any visible cracks or leaks if it has a smooth surface, etc.
The person inspecting should look out for any signs that might indicate that the ball joint is not functioning properly. If anything seems out of place or unusual during inspection then this can be a sign that something is wrong with the ball joint and needs further investigation.
One should be looking for signs of wear and tear, like rust or pitting on the ball joint. Rust is usually the first sign that the ball joint is wearing down, but this can also be an indication that the ball joint has been replaced with a substandard part.
The following are examples of what to watch out for when inspecting a car's ball joints:
-Rust under the paint on the outer surface of the ball joint
-Rust on top of or around metal parts inside or outside of the socket
-Pitting (small holes) in metal parts inside or outside of the socket.
Frequently lubricating the ball joint
The lubricant is typically a silicone-based fluid. This lubricant protects the ball joint from corrosion, provides a seal to prevent dirt and moisture from entering the joint, and helps maintain the correct alignment of the ball joint during use.
Lower Control Arm Ball Joints are often lubricated. This is because the ball joint often moves in a circular motion, which can cause it to wear down over time if it is not lubricated. The Lower Control Arm Ball Joint is the connection between the steering knuckle and the frame.
Inspecting Lower Control Arm Ball Joints regularly will help maintain control of the vehicle. These steps include checking for grease or grease residue on the ball joint, loose bolts or bolts that have been over-tightened, and free play in the ball joint.
The average person can perform these maintenance procedures themselves without too much difficulty. They may need to purchase a ball joint wrench from their local auto store. One of the most important tasks to do regularly is to lubricate lower control arms with grease so they don’t freeze up due to lack of lubrication.
Covering the lower control arm ball joint with a protective coating
The lower control arm ball joint typically resides near the brake and fuel lines and is a common target for corrosion.
Covering the lower control arm ball joint with a protective coating can help ward off corrosion, which can lead to pitting, cracking, breakage, and excessive wear that will eventually lead to component failure.
A protective coating is a thin layer of material that covers and protects metal from corrosion. This will go over how to apply a protective coating to the lower control arm ball joint on your car.
The first step is to clean the part that you want to coat. You can use just about any kind of cleaner or degreaser, but we recommend using dishwashing soap and water because it’s generally safe and easy on the hands.
Next, grab an air hose and start blasting away at the part you want to coat until it’s clean as new!
You can now apply your desired protective coating with a variety of painting methods, such as a paint roller, paintbrush, or using an airbrush.
Replacing worn or damaged components in the lower control arm ball joints
The lower control arm ball joints are a critical component of the vehicle’s suspension system. They provide stability and grip when driving. If they become worn or damaged, they need to be replaced in order to ensure safety.
The need for replacement is determined by vibration in the steering, driveline vibration and excessive tire wear on one side of the vehicle.
Replacing worn or damaged components in the lower control arm ball joints can be done with relative ease and at a low cost when compared to other suspension repairs. Furthermore, it will protect the vehicle from becoming unsafe to drive on public roads.
Tightening any loose bolts or nuts that are connected to the lower control arm ball joints
The lower control arm ball joints are not the most glamorous of jobs. Nevertheless, they're often inspected and tightened due to their position on the vehicle. The bolts that connect them to the vehicle's frame are particularly vulnerable to loosening over time. Typically, these bolts should be checked periodically and tightened if necessary.
The nuts on the other hand are not as susceptible to loosening because they're usually tightened with a wrench or socket wrench. They also have more threads than a bolt would so it's easier to grip them with a wrench.
To tighten any loose bolts or nuts that are connected to the lower control arm ball joints, you will need a wrench and a set of wrenches.
First, loosen the nut on the top of the bolt with your wrench. Once you have loosened it, use your second wrench to loosen and tighten the nut at the bottom.


